Running low on oil is a simple oversight which could result in lasting and significant damage to your engine costing thousands to repair or could even result in uneconomical repairs, depending on the age of your vehicle.
Checking the oil level and topping up if required is one of the simplest bits car maintenance and can be carried out on your dive, in your garage or on the road outside your home in minutes.
How do you check the oil level in your vehicle?
All you need is a rag or cloth.
- Ensure your car is parked on level ground and that your engine is cool.
- Open the bonnet and locate the dipstick which usually has a brightly coloured (yellow) top for ease of identification. If you are unsure where the dipstick is, check the vehicles user manual.
- Remove the dipstick and wipe it clean with a rag or cloth. You will see two marks which are the minimum and maximum oil levels.
- Put the dipstick back into the tube making sure it goes all the way in, leave it for a few moments and remove it again.
- If the level is at or between a and b you don’t need to add any oil, if it is between b and c you should add some oil, if the level is below c you must add oil and you should also consider a service.

- If you do need to top up, make sure you buy the right oil for your vehicle, you can find out what oil you need by checking the vehicles user manual or the many online checkers.
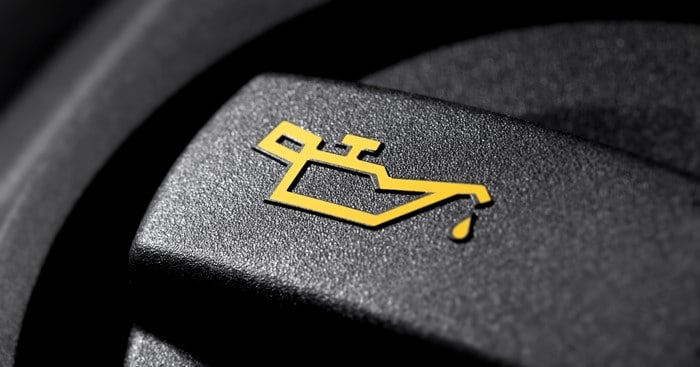
- Locate and remove the oil cap usually indicated by a picture of an oil can.

- Pour in a little oil at a time, checking the level as you go until the level reaches somewhere between a and b on the image above. Over filling can be as damaging and running low.
- Replace the cap and the dipstick.

